
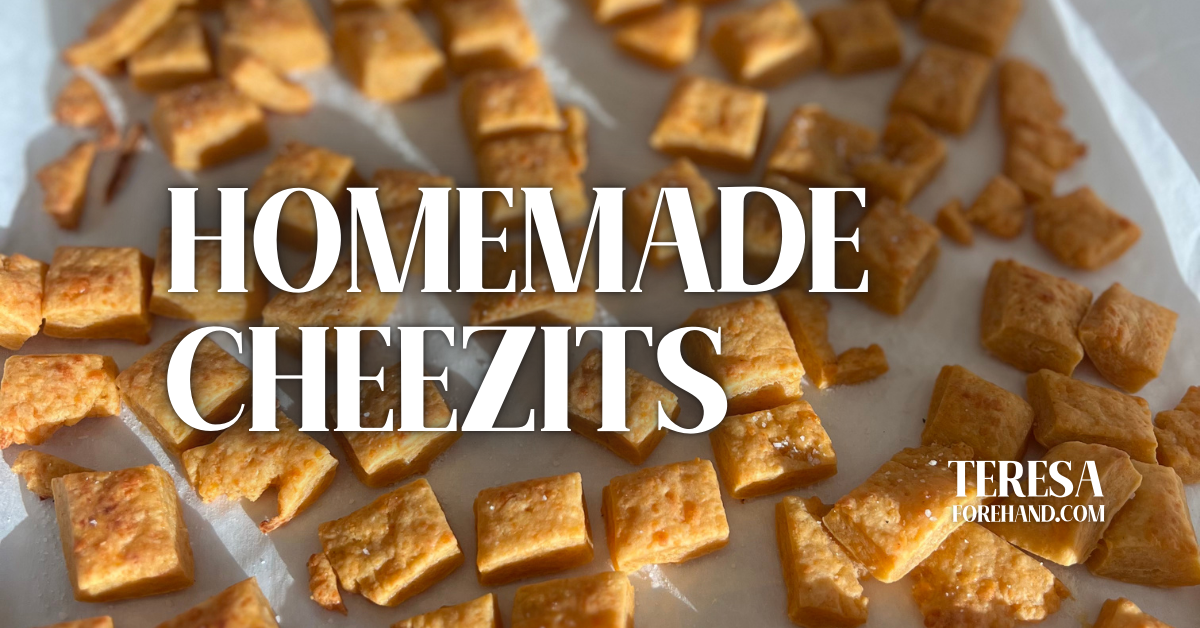
These homemade Cheez-Its are a game changer for snack time! Perfectly crispy, cheesy, and made with real ingredients, they’re a family favorite you can feel good about. This recipe is fun to make with kids and ideal for prepping a batch at the start of the week to enjoy as a grab-and-go snack, lunchbox treat, or party appetizer. With sharp cheddar, a hint of garlic and paprika, and that irresistible crunch, these crackers are guaranteed to disappear fast—better make a double batch!
Homemade Cheezits
Ingredients:
- 8 ounces finely grated sharp cheddar cheese
- 1 1/4 cups all purpose flour
- 4 tablespoons cold unsalted butter, cut into small pieces
- 1/4 cup plain yogurt
- ½ tsp garlic powder
- ½ tsp paprika
Directions:
- Pulse the cheddar, flour, and butter in the food processor several times until it resembles coarse crumbs.
- Add the Yogurt, and pulse again for a minute or so. The dough will be crumbly still but should hold together when pressed with your fingers.
- Remove from the food processor, shape into log. Wrap in plastic wrap and refrigerate for at least 30 minutes. Chilling the dough will make it easier to roll out and slice. If storing in the fridge for a long period of time, take it out of the fridge and let it sit at room temperature for a few minutes.
- Preheat oven to 325°F. Place a sheet of parchment paper on your work surface. Lightly sprinkle with a small amount of flour. Place the dough in the center and roll from the center outwards and turning the dough occasionally to main an even thickness, about 1/8-1/4 inch is ideal.
- Using a pizza cutter or fluted pastry wheel, cut into one inch squares. Trim off any edges to have perfect squares. Transfer the entire parchment paper with the cut dough to the cookie sheet. Spread them out slightly so they’re not touching.
- Using the tip of a skewer or chopstick, poke a hole in the middle of each cracker. Bake for 25-30 minutes, or until lightly golden and puffy.
- Cool completely and enjoy!
Click HERE for a Downloadable Recipe Card!
Check Out Some More Recipes!!

Cheesy Cowboy Chicken Corn Dip
Articles contain affiliate links. For more information on affiliate links, click here. This Cheesy Cowboy Chicken Corn Dip is made for tailgating! Packed with tender rotisserie chicken, sweet corn, black beans, green chiles, and plenty of melty cheese, it’s warm,...

Game Day Cast-Iron Dip Flight
Articles contain affiliate links. For more information on affiliate links, click here. When one game-day dip just isn’t enough, make four! This Cast-Iron Dip Flight gives everyone a little something to scoop, from spicy Buffalo chicken and cheesy enchilada dip to...
Honey Garlic Chicken Sliders
Articles contain affiliate links. For more information on affiliate links, click here. These Slow Cooker Honey Garlic Chicken Pretzel Sliders are an easy, crowd-pleasing option for tailgating, game day or any casual get-together. Tender shredded chicken is coated in a...

Hi I’m Teresa!
I’m a mom to three, a wife and a physician assistant. I also have a degree in Nutritional Sciences and I love sharing all things life with you! I am passionate about empowering you through education, sharing all my fave products and items that have made life better and creating content to give you value!




0 Comments